|
Overview
We had been thinking about testing the Promote Control for some time to see how it would work with Oloneo PhotoEngine.
Recently we had the opportunity to talk to the Promote Systems team and came up with a simple idea: what about doing a kind of ‘cross-continental photography project’? In other words: you take the pictures in the USA and we process them in France! The guys at Promote Systems agreed immediately and that’s how this tutorial was born.
Part 1: Capturing a sunrise with Promote® Control
Choosing the location
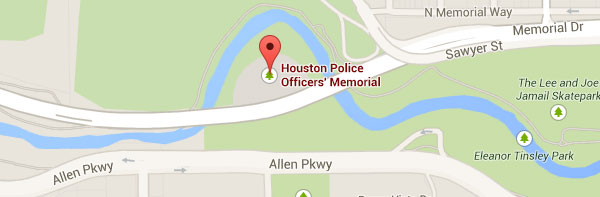
The photos were taken from atop the Houston Police Officers’ Memorial that honors more than 80 Houston police officers who have lost their lives in the line of duty. Needless to say, it is an important landmark for the city.
The memorial was an optimal location for a sunrise shoot: it offers a great view of the city and faces the east, so the sun comes up from behind the buildings giving it an added dynamic effect. We knew the top of the memorial was polished granite and would provide an interesting reflection of downtown to improve upon a typical skyline shot.
Setting up
Sunrise for this time of year is around 7:00 a.m., so we arrived half an hour before, and shot from before the sun came up when the sky was a gradient of deep blues all the way through to the time when the sun peeked out from behind the buildings.
Equipment and settings
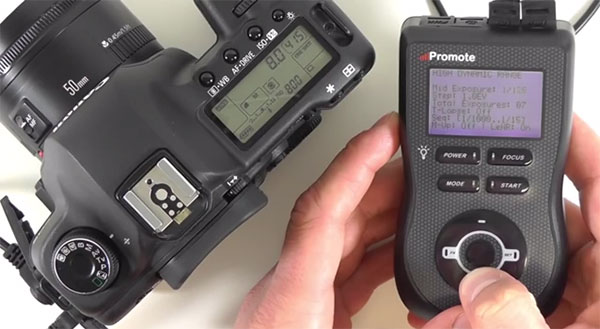
We used a Canon 5D MkIII with a Promote Control.
The 5D MkIII’s sensor produces beautiful colors, but the automatic bracketing is limited: this particular camera can bracket only seven exposures and steps of 1/3 or 1/2 of a stop and we wanted finer control than this. So we set the Promote Control to take a 13-exposure bracket with 0.7 EV steps between each. As the morning progressed, we shifted the exposure to adjust for the increasing available light. The set used in this tutorial had exposures ranging from 1/320” to .8”.
The lens was set in manual at 30mm and the aperture was kept at a constant f/22 throughout the shoot, to exaggerate the sunburst effect.
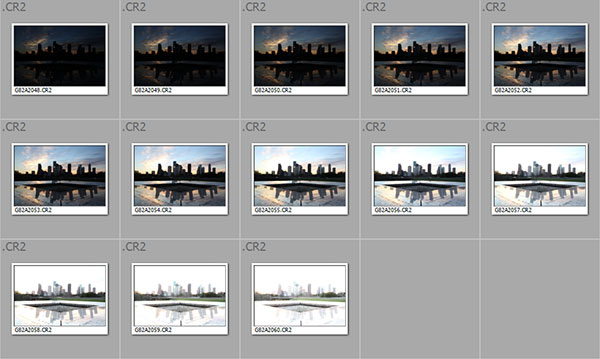
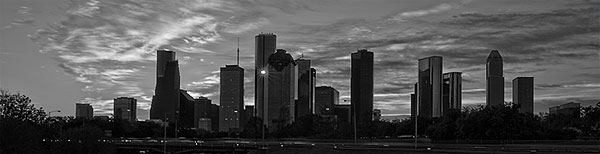
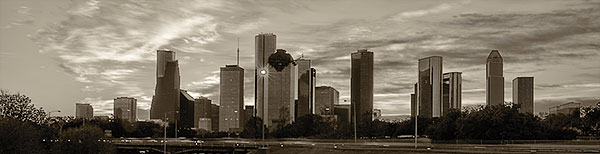
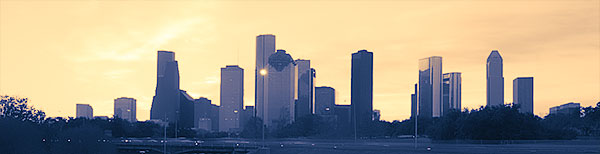
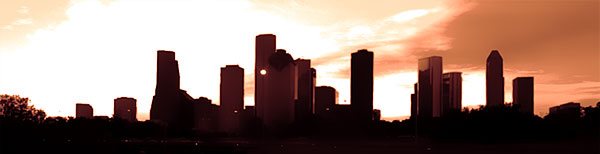
We then sent a whole lot of RAW images to our friends from Oloneo who performed the post-processing magic! For this tutorial, they selected a set of photos taken at the time of sunrise when there was still a lot of color in the sky, but before the sun could be seen:
Part 2: Oloneo PhotoEngine
Photographing a sunrise is difficult. In a matter of seconds the sky color can change from flamboyant to bland, and contrast is extreme. You need to take multiple bracket sets in a short time, each containing many photos.
For that scene we ended up with about 650 RAW photos taken with a Canon 5D MkIII. Each bracket set contained 13 photos.
Taking the photos was easily done thanks to the Promote Control. The hard part seemed to be creating and editing HDR photos from such a large amount of RAW photos!
The good news is that Oloneo PhotoEngine is by far the fastest HDR software for loading photos and creating an HDR image. It has been measured to be from 2 to 25 times faster than its competitors (independent test of the top 13 HDR software).
If you don't have PhotoEngine, now is the right time to download the free trial!

Loading photos and creating HDR images:
PhotoEngine actually offers multiple ways to load the RAW photos and create an HDR image:
- Browse thumbnails and select photos directly inside PhotoEngine
- Use Adobe Lightroom and the included PhotoEngine-Lightroom plug-in
- Drag & drop a set of bracketed photos directly from a system folder to PhotoEngine
- Batch processing (more about that below)
In this tutorial, we will use the first method shown in the following video (PhotoEngine includes several video tutorials built-in).
The RAW photos are loaded, processed and assembled to create a full resolution HDR image with 32-bits per color channel and ultra wide color gamut. PhotoEngine is able to load and process several images in parallel to accelerate this step.
Editing the HDR Image
Oloneo PhotoEngine is not only the fastest in loading photos; it is also the fastest HDR editing software available. You don’t have to wait 5 seconds, 1 second or even 1/10 of a second to refresh a preview in PhotoEngine. The reason is simple: there is no need for a preview in PhotoEngine, you always work at full resolution (20 megapixels in the case of a Canon 5D MkIII) and in real time! Simply drag any slider and see the image change immediately without lag.
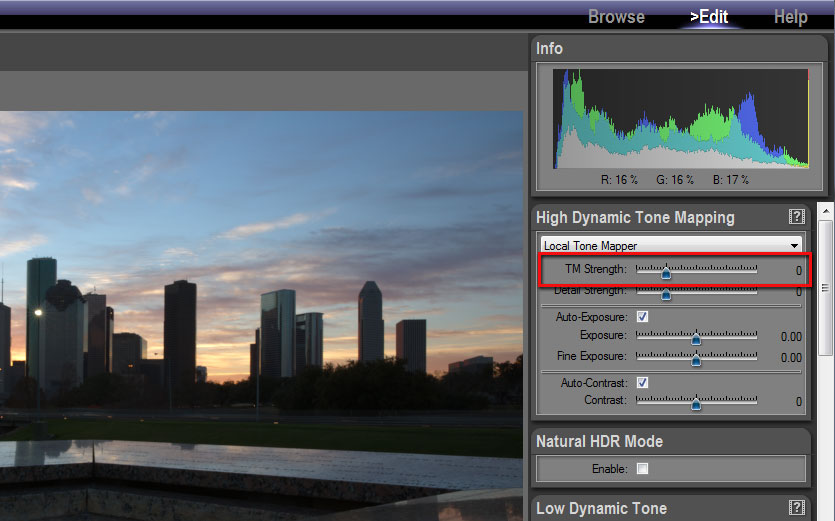
Let’s see how to edit and Tone Map the HDR Image:
- Locate the High Dynamic Tone Mapping panel (top/right)
- Drag the TM Strength slider to the right until you get the image you want
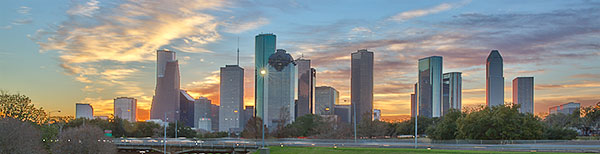
Original photo before Tone Mapping
As you drag the TM Strength slider, PhotoEngine analyses the image and adjusts automatically multiple parameters such as exposure, contrast, and tone compression. You quickly get a natural looking image without adjusting multiple parameters (advanced users can turn off these automatic corrections).
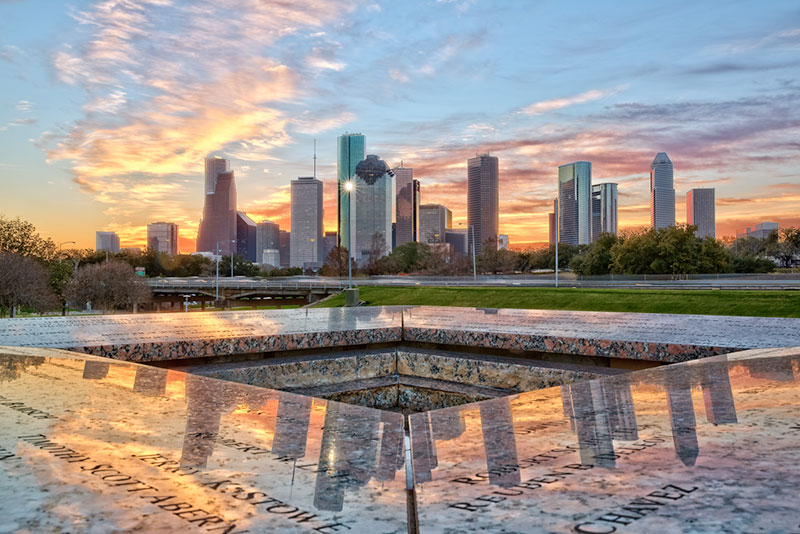
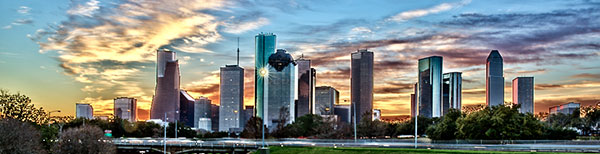
Photo after Tone Mapping
Advanced image editing:
By default, PhotoEngine aims for a natural and subtle HDR style. Many pro photographers use PhotoEngine to process single RAW photos and tone map images in an undetectable way.
In addition to the TM Strength slider, PhotoEngine offers numerous tools such as: detail control, advanced white balance, curve editors, the Color Equalizer, Print Toning, etc.
As everything works in real-time, you can quickly explore different styles from natural to wild:
If you need inspiration, PhotoEngine includes a large number of factory presets.
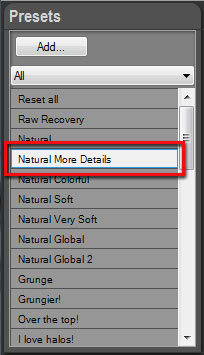
Applying a preset:
- Click on a preset located in the Preset panel
Saving and batch processing:
Once satisfied with your image, you can save your image to Jpeg, TIFF or high dynamic formats. The image can also be sent directly to Adobe Photoshop (or other tools) for further editing.
Exporting to TIFF or JPEG:
- Press Ctrl-Shift-S or select Save As… in the File menu
- In the File Dialog, select: TIFF (*.tif) or JPEG (*.jpg)
- Enter the file name
- Click the Save button
- Select the TIFF or JPEG settings
- Click the OK button
Everything you do is recorded in the Timeline and can be saved to a project file with full edition history. You can also use the Timeline to create your own presets.
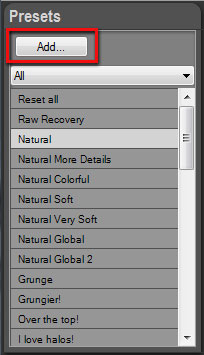
Creating a preset:
- Click on the Add button located at the top of Preset panel
- The New Preset dialog opens
- Enter the Preset Name
When using the Promote Remote, you will easily create multiple bracket sets. You can use the PhotoEngine batch to apply the preset you just created to a whole folder of bracket sets.
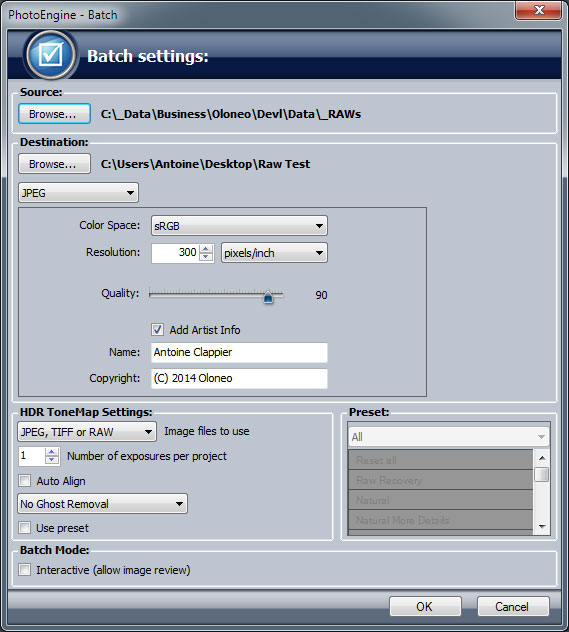
Creating a new Batch:
- Select Batch... in the File menu.
- If you have unsaved work, PhotoEngine will offer to save your photo
- The Batch Dialog is displayed
|